I used to work with a lady who used to bake when she was angry. Maybe it's just me, but I can't cook when I'm emotional as I will most certainly will stuff it up. My first attempt at this pie ended up with mushy apples and over worked pastry. I retained the apple, binned the pastry, took a break before starting again. I then peeled, cored, sliced 7 large Granny Smith Apples. I then halved those slices and added them to a saucepan with 1/2 cup of water.
 The apple and water was then brought to boil. I then reduced the heat to a simmer, covered the saucepan for approximately 10 minutes. The halved apple slices should be slightly softened. Drain the apples and then add 1 teaspoon of lemon rind and 1/4 teaspoon of ground cinnamon. Leave the mixture to cool.
 In a bowl combine 2 cup plain flour, 1 cup self raising flour, 1/2 cup cornflour, 1/2 custard powder, 2 tablespoons of caster sugar and 200g of cool coarsely chopped butter. Rub the butter and the flour between your finger until the mixture resembles breadcrumbs. Then add two egg yolks and 1/2 cup of cold water (use your judgement as you may need more water) and knead until smooth. Halve the dough, roll and then smooth the pastry into a 25cm pie dish. I decided to use a flan tin.
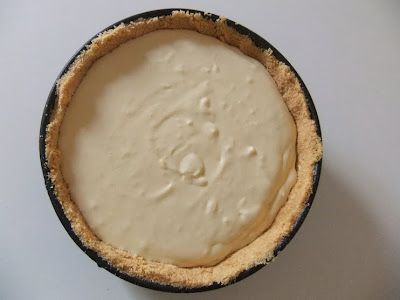
 Here is the lined tin. I then placed the tin in the fridge for 30 minutes to rest and preheated the oven to 220C/200c fan forced.
 After the 30 minutes had pasted, I then brushed the case with egg white, filled the pie with the apple mixture, rolled the remaining dough out to create a lid. I brushed the lid with more egg white and sprinkled it with sugar. I made a small cross in the center before popping the pie into the oven for 20 minutes. After 20 minutes passed, I reduced the oven to 180C/160C fan forced and continued for 25 minutes or until golden.
 Here is the finished pie and I was tell you it is delicious. It's the perfect winter warmer and smoothing balm for my soul.
 To truly appreciate food you have to know how to cook and Food Bloggers are no exception. With the upcoming Brisbane Food Bloggers Picnic I knew I had to plate up something unique, tasty and visually splendid so I turned to my book shelf. I settled on Rhubarb Custard Melting Moments from the Women's Weekly Cookies cookbook as there something so appealing about the bright red rhubarb custard nested between two golden discs. I started by stewing 3 large stems of chopped rhubarb with 3 tablespoons of sugar and three tablespoons of water on low heat until the rhubarb was pulpy. Try to avoid taste testing as you could quite easily polish off the stewed rhubarb at this stage.
  I then placed 2 tablespoons of custard powder, 2 tablespoons caster sugar and 1 cup of milk in a saucepan. I stirred it until the mixture boiled and thickened. Once I was happy with the consistency I removed it from the heat and added 2/3 cup of stewed rhubarb and was disappointed with the colour.
  Thankfully my red and pink food colour pastes came to the rescue and gave the custard the desired colour. Once the custard had cooled, I covered the bowl in cling wrap and placed it in the fridge to set.
 I preheated to 160°C before whipping 500g softened butter, 1 teaspoon vanilla extract and 1 cup of sifted icing sugar until light and fluffy. I then sifted in 2 cups of custard powder and 2 cups of plain flour and combined.
  Lightly grease a cookie sheet and roll rounded teaspoons of mixture into balls. Place then approximately 5cm apart and flatten slightly with a floured fork. Bake for 15 minutes and allow them to stand for at least 5 minutes.
  Once they are cool, take two golden discs and sandwich them together with your rhubarb custard. If you pad your container, they travel quite well and are best enjoyed with a cup of tea. Yum!